![]()

You already know that you want to track website visitors' actions to serve them offers that actually interest them. Don't shy away from this strategy even if setting up a Facebook pixel ID seems like a difficult roadblock. Follow this guide to start implementing effective Facebook marketing tactics without technical roadblocks.
Facebook pixels are just small snippets of code that can measure when a user takes specific actions on your website. It can measure several actions, including:
- page views
- when people add products to their cart
- when someone fills out a form
- when somebody completes a purchase
What you'll be measuring depends on your site and how you plan to use Facebook to target customers, but you'll probably want to sell something to them when they revisit the social network. That's how most eCommerce brands do it.
How to Find Your Facebook Pixel ID
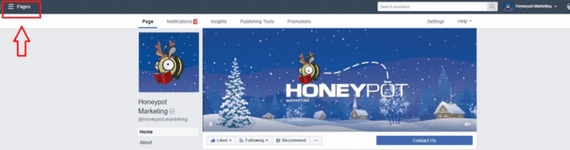
Access your page's settings from the Facebook Business Manager screen, then select the drop-down menu.

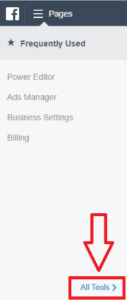
Then, select "All Tools" at the very bottom of that menu.

This opens up a larger menu with five headings, but don't worry about getting lost in them. Choose "Pixels" under the Measure and Report heading, nested under the "Events Manager" option.
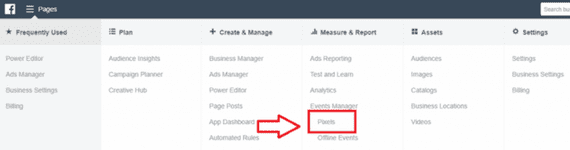
Note: "Events Manager" in Facebook refers to digital actions a user can take on your website or Facebook itself rather than "event marketing."
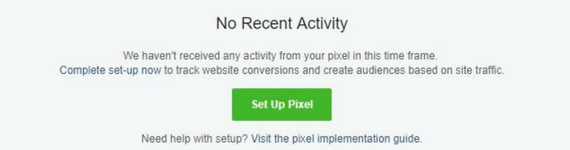
Next, hit the bright green button labelled "Set Up Pixel." Notice that there's a Facebook pixel implementation guide right below it, in case you'd like to read more detailed explanations of the different ingredients that go into the process.
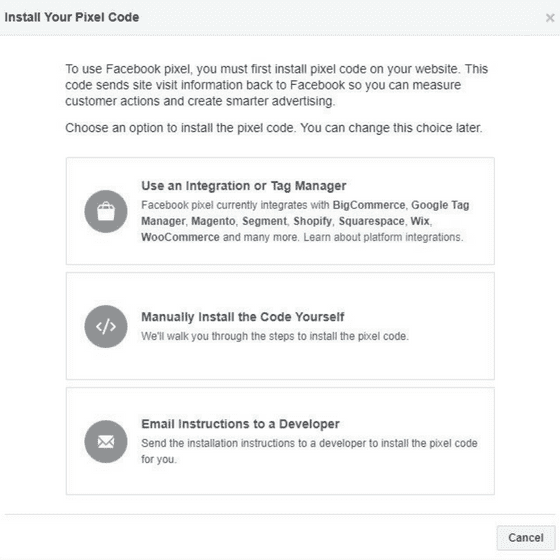
The green button will bring you to this screen. You could always send the details to your developer, but let's set it up manually in case you don't have someone to do this for you. In that case, click on the second option you see below.

This is what the actual code looks like. All you have to do is copy and paste it into the header of your website pages. This setup process also shows you where to set up the Facebook pixel ID on your own website's header, making it straightforward to figure out.
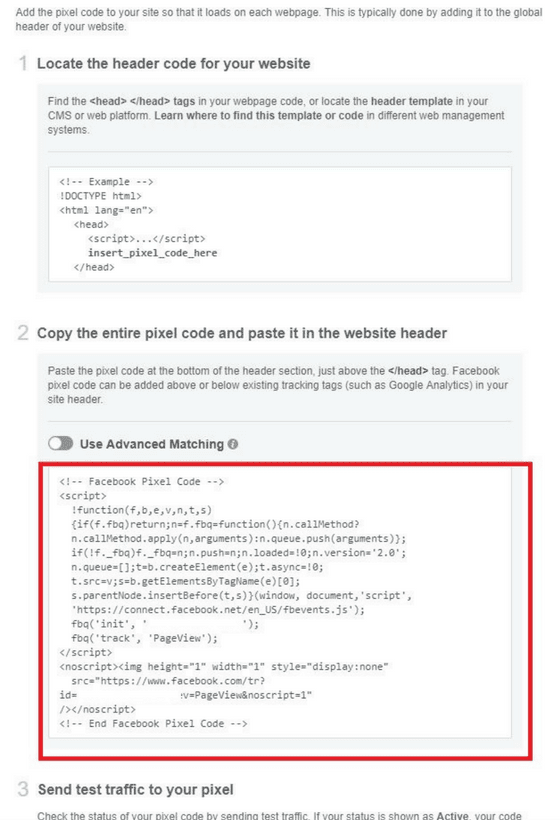

See the bolded text near the top, called "insert_pixel_code_here?" That's where you paste the code on your website (we'll get to the "where do I find that?" part in a moment).
On the next screen, Facebook will ask you exactly what you want to track with this pixel ID.
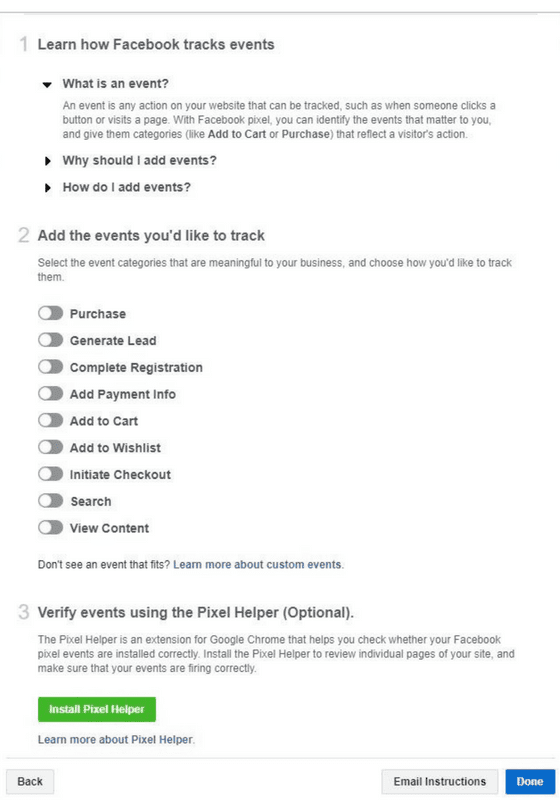

For every option you click, there will be more parameters to set. That's why we recommend keeping your Facebook pixel ID lean—it keeps your website's back end clean.
If you're feeling particularly adventurous, Facebook offers a full list of parameters and how to code them.
How to Install a Facebook Pixel ID on Your Website
Not sure where to find the header on your site? Use these resources to insert the pixel using your platform:
Otherwise, you may need to paste the code into your page's header section manually. Look for this in the HTML for your site:
</head>
As long as your code goes before that tag, your Facebook pixel ID should work. This is what it will look like.


You'll probably want to do is set up your Facebook pixel helper extension to tell you if it's active on your page after installing it. Always check before you consider the task finished.
It's worth checking your trigger manually to make sure you're capturing the same number of events as the pixel as well, so give it a test run.
That's how to do it.
We hope this guide was helpful, and don't hesitate to ask us for a hand if you're still running into issues setting up your pixel. Happy hunting!